

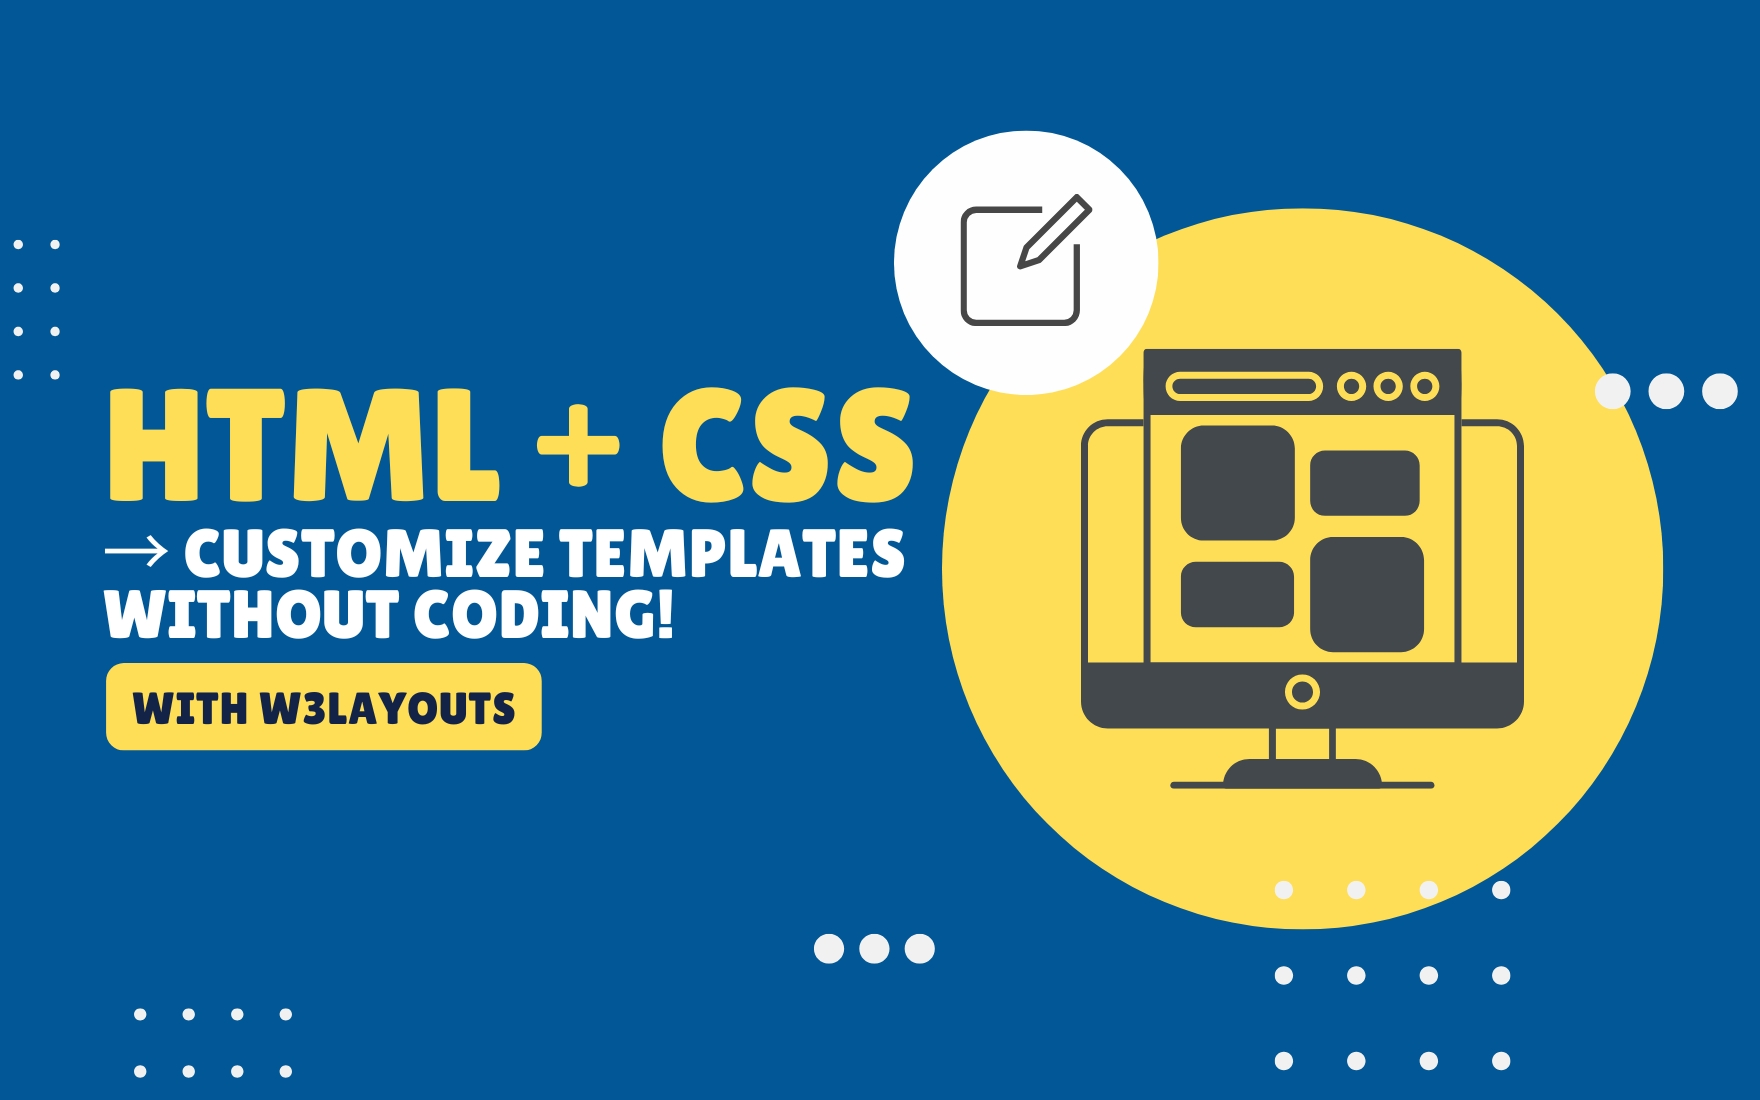
How to Customize a HTML Template (Even If You’re Not a Developer)
If you’ve ever wondered how to customize an HTML template without touching complex code, you’re in the right place. Whether you’re a small business owner, freelancer, blogger, or beginner, customizing a ready-made HTML template can give you a professional website fast—without hiring a developer.
The best part is that you don’t need to be a coding expert. With a few simple tweaks, you can turn a free HTML template into a fully personalized website that reflects your brand and style.
Why Use an HTML Template?
Before we dive into how to customize an HTML template, let’s talk about why templates are so useful:
Cost-effective: Many high-quality templates are free, saving you thousands on web development.
Time-saving: Skip building from scratch and launch your site faster.
Customizable: Change colors, fonts, layouts, and content without needing advanced skills.
Responsive: Most modern templates are mobile-friendly by default.
Browse free HTML templates on W3Layouts to get started.
Step 1: Download and Unzip Your HTML Template
The first step in how to customize an HTML template is downloading the template files to your computer. Once you’ve chosen a design from W3Layouts:
Click the Download button.
Unzip the folder to see files like index.html, style.css, and sometimes script.js.
Open the folder in a code editor like Visual Studio Code.
Step 2: Update the Text Content
This is where your personality and business shine through. Open index.html in your editor and look for text between <p>, <h1>, <h2> tags. Replace the placeholder content with your own:
Change the logo text to your brand name.
Edit headings to describe your services or products.
Rewrite paragraphs with engaging copy relevant to your audience.
Tip: Keep paragraphs short and conversational. Your visitors (and search engines) will appreciate it.
Step 3: Customize Colors and Fonts (CSS Edits)
Even if you’re not a developer, basic CSS edits are simple. Open style.css and look for color codes like #000000 or font families like Arial.
You can change:
Background colors – for example, background-color: #ffffff;
Text colors – like color: #333333;
Fonts – by adding Google Fonts. Example:
body {
font-family: ‘Poppins’, sans-serif;
}
External resource: Google Fonts
offers free, easy-to-use font options.
Step 4: Replace Content Elements
Most templates include sections with placeholder text, buttons, or icons. To personalize your site:
Identify the elements you want to replace in the HTML file.
Update headings, descriptions, and buttons with your unique content.
Keep a consistent tone and style across all sections to make your site feel cohesive.
Important: Use descriptive text and relevant keywords to improve your site’s SEO and accessibility.
Step 5: Adjust Layout (Optional)
If you’re comfortable, you can tweak sections like headers, footers, or banners. Many templates are built with Bootstrap or a grid system, so changing column widths or rearranging sections can be as easy as moving <div> blocks around.
Example:
<div class=”col-md-6″>Content 1</div>
<div class=”col-md-6″>Content 2</div>
Swap these divs to reverse their order on the page.
External resource: Bootstrap Grid System
(Do Follow link).
Step 6: Test Your Customized Template
Once your edits are done:
Open the HTML file in your browser (double-click it) to preview.
Check mobile view using Chrome DevTools (right-click → “Inspect”).
Test links and buttons to make sure everything works.
If something looks off, don’t panic. HTML and CSS are forgiving—just undo your last change or check for missing </div> tags.
Step 7: Publish Your Website
When your template looks perfect, it’s time to go live. You can:
Use a free hosting service for practice or personal sites.
Buy a domain and hosting for your business for a more professional touch.
Upload your files using an FTP client like FileZilla or your hosting provider’s file manager. Your site will be accessible to everyone with your domain name.
Bonus SEO Tips for Your HTML Template
Customizing your template is just the start. To help your website rank:
Add unique title tags and meta descriptions to each page.
Use descriptive file names (e.g., services.html instead of page2.html).
Optimize your code for fast loading.
Add internal links to guide users around your site.
Keep your content updated regularly.
Start Customizing Today
Learning how to customize an HTML template doesn’t require a degree in web development. With ready-made templates from W3Layouts
Anyone can build a professional, responsive website in just a few hours.
Whether you’re a small business, freelancer, blogger, or student, HTML templates are the fastest way to get online without breaking the bank.
Explore the full collection of free HTML templates and start customizing today.