

Delog is developed for professional bloggers and web designers to build a website that has a lightning-fast navigation speed. Unlike our other templates, Delog is built on an entirely different framework. You can easily access the coded backend of the template.
Basic customization is so simple that you can just follow the steps given in the ‘Read Me’ document. With Knowledge of CSS/SCSS you can change the color scheme.
Built with GatsbyJS and Netlify CMS
The blazing speed is made possible by Gatsby, an open-source framework for developing static websites. The website is then hosted in Netlify, which lets to deploy your website in a single click. The deadly combination of these two technologies is something you must have never witnessed on W3Layouts before.
Result? A website navigating at the speed of light!
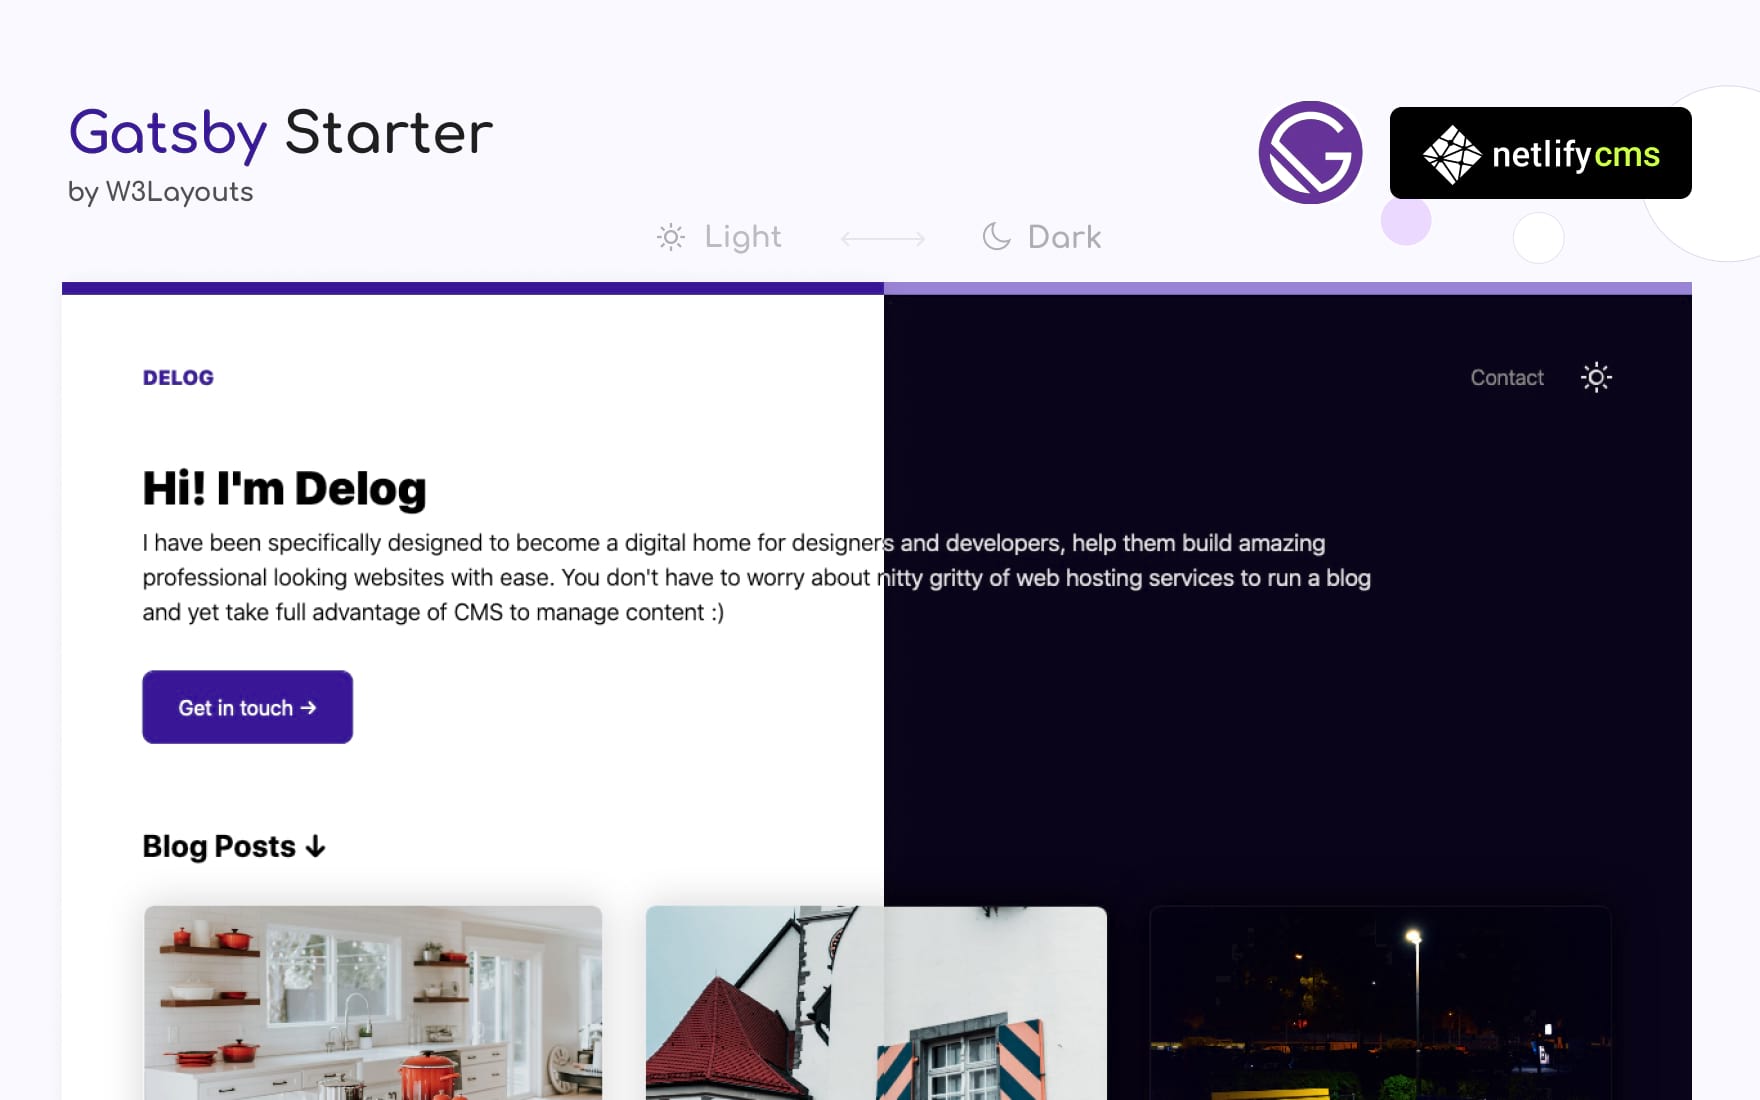
Simple Layout
The layout and text are right on the mark. No wasting time in anything that deviates the visitor. It starts with a concise introduction of yourself with a ‘Contact’ CTA button followed by a series of blog posts. What else you need when your work is out there to speak!
Complete Access to CMS
Editing your blog posts is as easy as doing it on your word document. You can change whatever you want, at any time. The content space comes with lines, code boxes, strikethroughs, lists, tables, images, and different plugins. You can write any form of content you want.
Build your new website with Delog and take it to live in a single click. You can download the source code directly from GitHub.
How to host a website with delog
If you are not familiar with GatsbyJS and Netlify, you can follow the steps and take your website live
Step 1 – Deploying my site on Netlify?
I am built with Gatsbyjs to give you lightning navigation speed and unbound flexibility to be creative with your design.
To begin with, you need to deploy me to Netlify.
- Click on ‘Deploy Netlify’

- You will be taken to the Netlify website and will be asked to connect it with Github. Click on ‘Connect to Github’

- You will be asked to enter a repository name. After entering the name (say xyz), click ‘Save & Deploy’

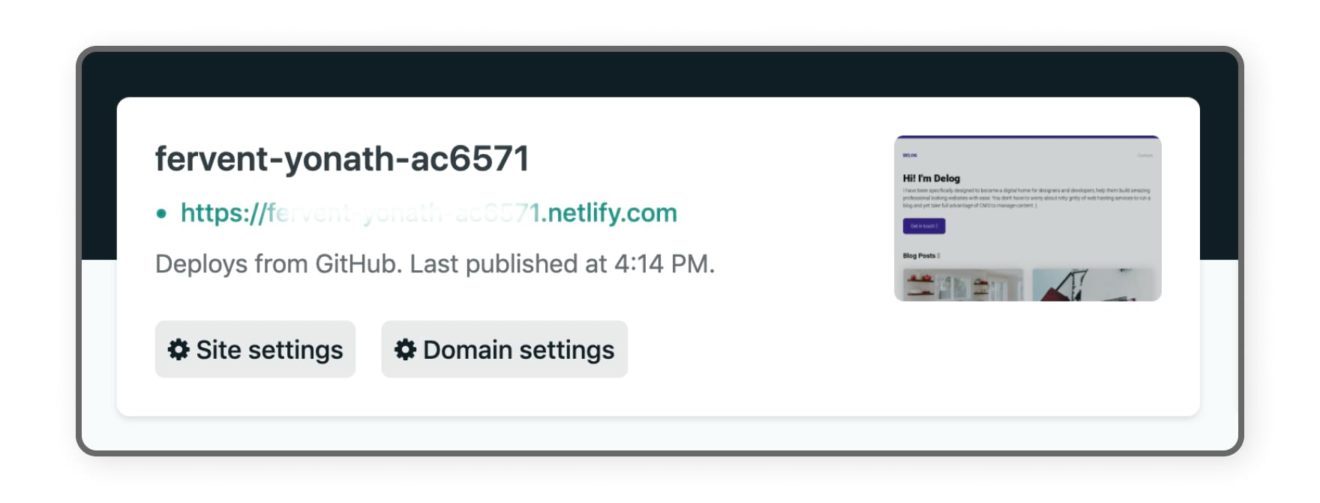
Your site deploying process will start.
After say 5 mins, the site deploying process will be done and it will be live.
You can click on the random link generated at the top left of the page.
The next step is to change your repository URL so that Netlify can show you the changes made on the site.

Step 2 – Changing the repository URL for Netlify CMS access
- Go to your GitHub repository and open config.yml by following the path,
delog/static/admin/config.yml. - Change ‘repo’ to your
username/repository name
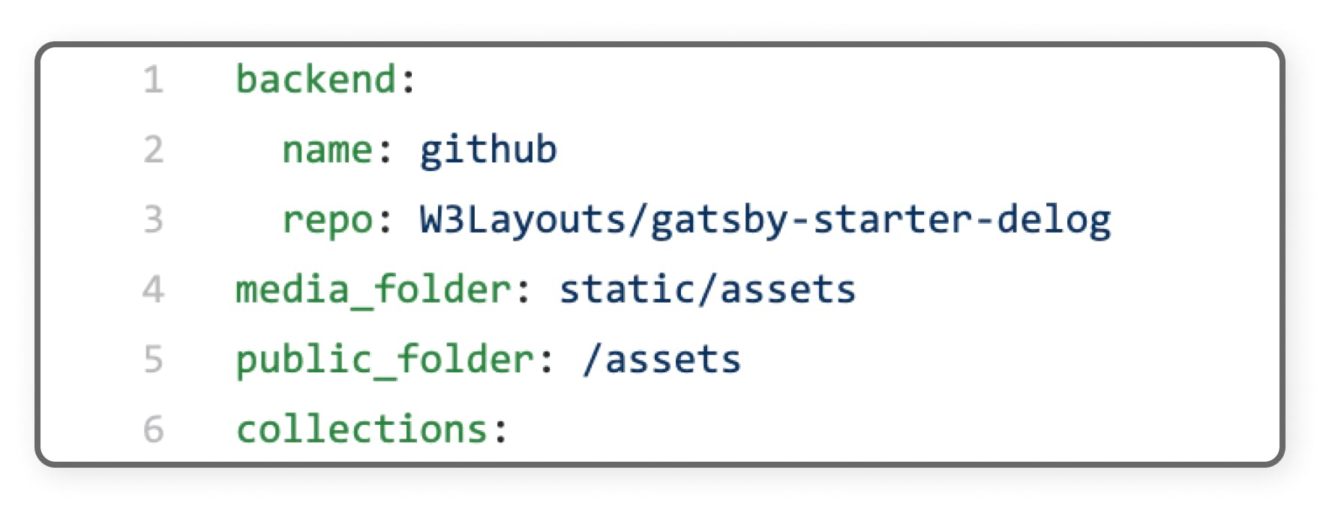
- After doing this change, click on ‘Commit Changes’
This will allow you to make changes to your site, but you are not done yet. You need to make sure that all gates at netlify are open. It gives access to GitHub. For that to happen, you need to move to the next step and create an OAuth Client ID in Github.
Step 3 – Creating Github OAuth Client ID
- Go to ‘Developer Settings’
- Click on ‘New OAuth App’
- Enter the Application Name
- Enter your Netlify URL as Homepage URL
- Write Application Description and paste this link in ‘Authorization Callback URL – https://api.netlify.com/auth/done
After you click on ‘Register Application’, Client ID and Client Secret keys are generated.

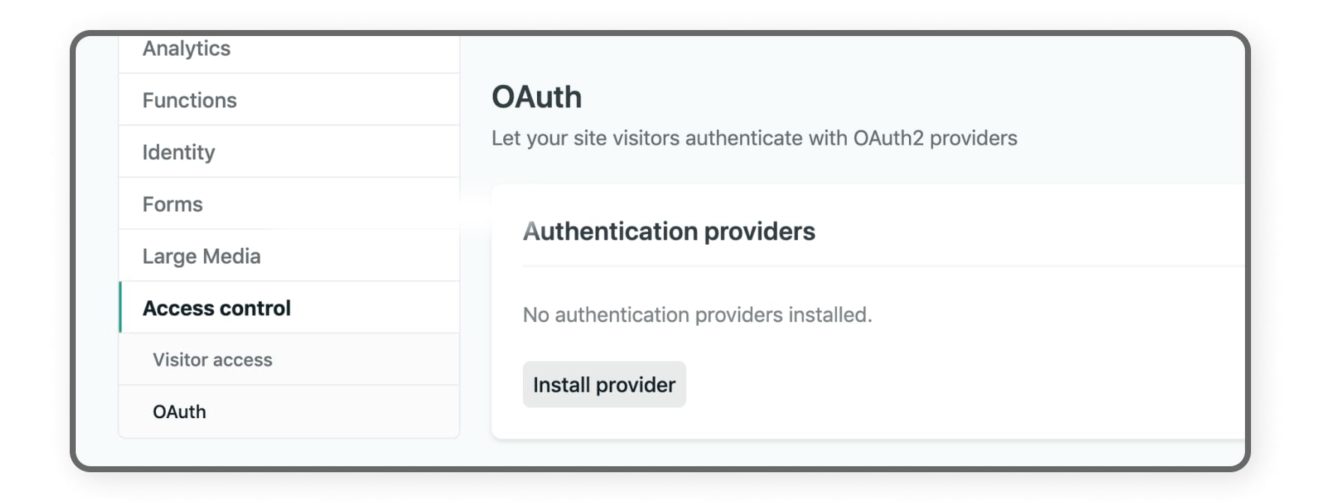
Step 4 – Accessing Netlify CMS Admin
Go to your Netlify site admin
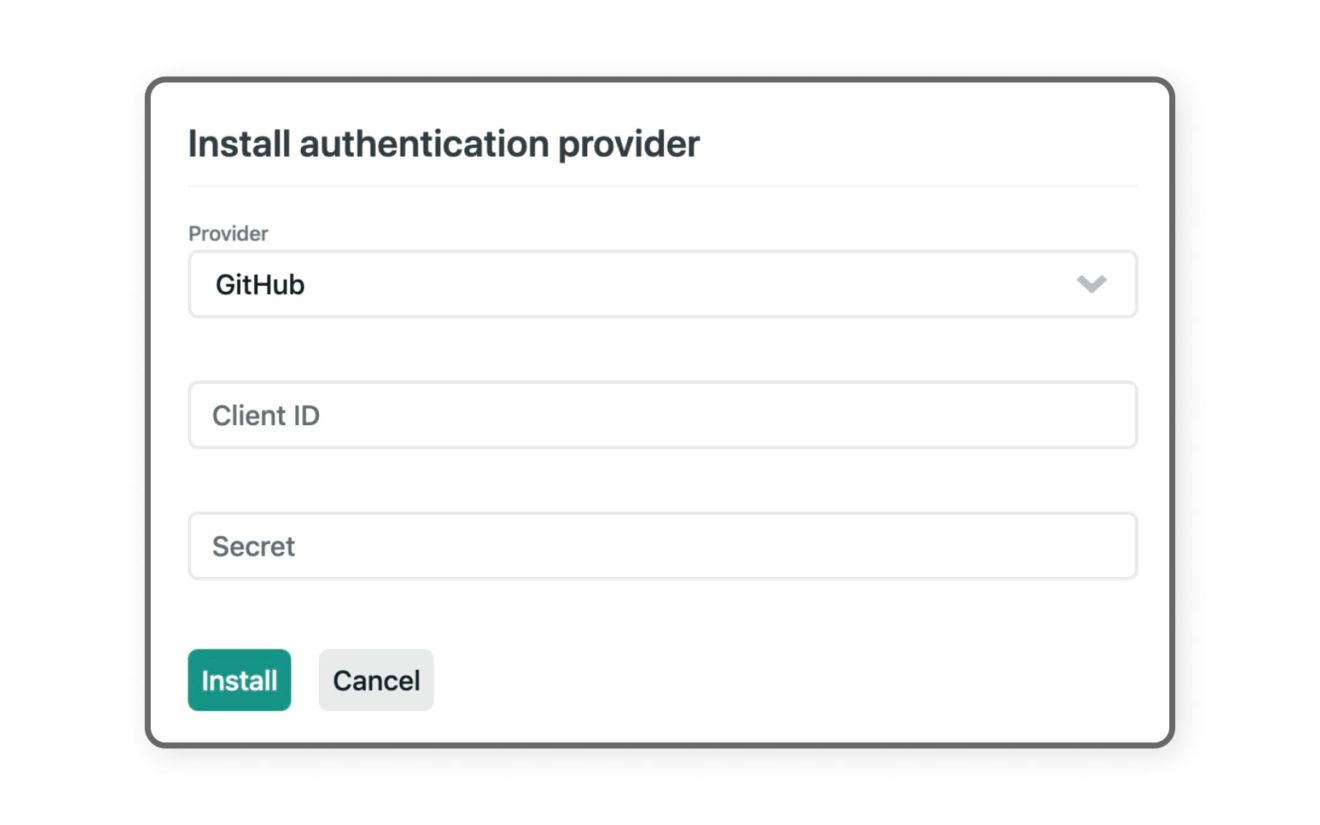
Go to Site Settings > Access Control > OAuth then click on ‘Install Provider’.

You need to select the provider as Github as add Client ID and Secret
With this your Netlify CMS is ready. Go to your Netlify site URL and append /admin/. For example – website.netlify.com/admin/
You will see login with the GitHub button.
After you click it, you will see the admin of your blog where you can edit all your blog posts. You can create, edit, update and delete like any CMS.
How to Edit Metadata
Go to gatsby-config.js. Here you can edit the following details
- Title
- Description
- Site URL
- Homepage Title
- Homepage Description
- W3Layouts Contact form domain verification key
- Google Analytics tracking id
I hope you build a great website with Delog. If you like it please spread the word, Feel free to contribute and raise a pull request 🙂
For issues, feedback on enhancement or sharing your new awesome website built with dialog. Report Issues here ➜